activity 3: leveling
-
learning goals:
- after this activity, student is expected to learn the different situation of first printing layer, and let them know how to do the leveling according to adjust the screws.
-
task:
- follow the procedure to do the leveling
- take photos of what they print, must have one photo with 5 printed layers are all suitable
-
procedure
- Clean the Nozzle
- If you have any residual plastic on the tip of the nozzle, your bed-to-nozzle gap will be off.
- Use a dry cotton cloth to clean the nozzle.
- Heat the nozzle to the last printing temperature used and wipe off the excess plastic. If that doesn’t do the trick, a brass brush may be used to carefully clean around the tip.
- When working close to the hot end, be sure to observe proper safety practices like wearing heat-resistant gloves and using common sense.
- Clean the heating bed
- As with the nozzle, your 3D printer bed’s surface should also be clean. We can mostly use a razor blade or a spatula to scrape off any large residue and debris.
- Once large debris is removed, we can proceed with washing the heating bed. If it can be removed, cleaning it in the sink with ordinary dish soap and lukewarm water works quite well. For a non-removable build plate, you can use isopropyl alcohol on a paper towel or cloth. After that, dry it with a soft cloth.
- It’s a good idea not to touch the clean build surface with your bare hands because this can deposit oil from your skin to the plate. We don’t want any grease on the surface, as that can adversely affect bed adhesion
- Create Some Workspace
- I3 bed is mounted with four adjustable screws in the corners of the build plate. Adjust each screw a couple of turns to increase the distance between the nozzle and the build plate.
- Position the Printhead
- home the nozzle.
- this will send the nozzle to what the machine considers to be position (0, 0, 0) in the build volume’s space. What’s important is that third 0, which represents the Z coordinate, because it’s at this height that your machine will print the first layer.
- power off the printer
- you’re able to freely push the printhead within the XY plane. Be careful not to push it too quickly, as this can create a charge in the motor.
- home the nozzle.
- Measure & Adjust
- prepare an A4 paper
- Move the printhead to a corner of the bed and put your paper between the nozzle tip and the print bed. If there’s no resistance when dragging the paper back and forth between the nozzle and the bed, adjust the closest leveling screw to tighten the gap. Be careful not to put pressure on the 3D printer bed (for example, with your hand), as this will push the bed down enough to make the gap bigger than it really is. Sliding your paper repeatedly, keep adjusting the screw until you can feel a slight drag from the nozzle and 3D printer bed.
- Repeat this same process on all remaining corners. When the corners are okay, move the print head to the middle of the build plate and check that the same resistance can be felt there. Readjust the screws if necessary.Lastly, double-check each corner and the center again, as your adjustments in one corner may have affected the others. If that’s the case, repeat the entire procedure until all five points are leveled
- Refer to the first two minutes of the video
- prepare an A4 paper
- Print the first layer
-
store the gcode file in the SD card for printing
firstlayer.gcode (24.1 KB) -
the reference of the printing result:
-
- Clean the Nozzle
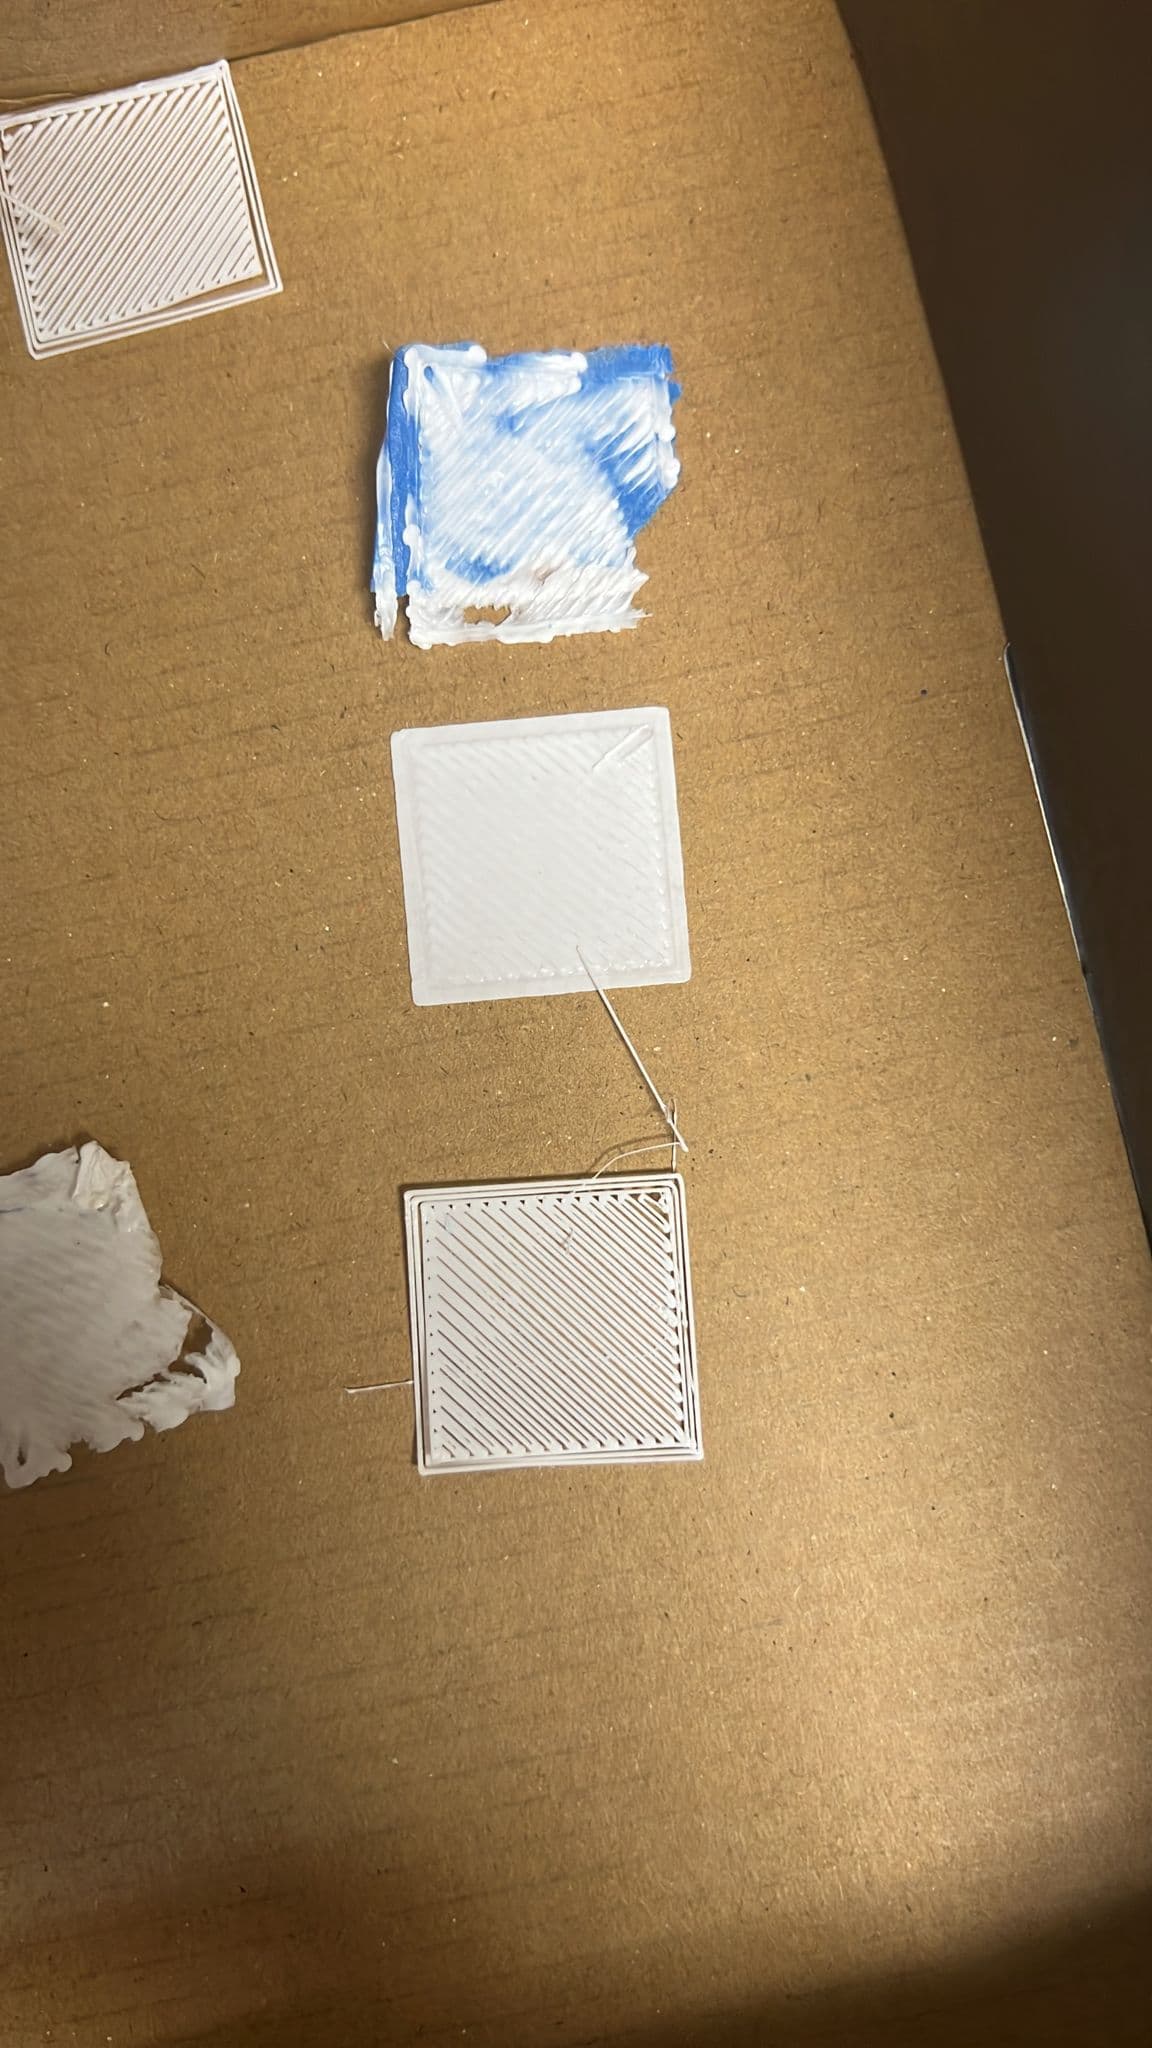
top: too close
middle: suitable
bottom: too far