activity 4: basic functions of superslicer
-
learning goals:
- after this activity, student is expected to learn how to use the superslicer to do the basic operation (include move, rotate, arrangement, slice, export g-code, how to read the panel), which means even they don’t change any parameters, they can also print the file.
-
tasks:
- follow the procedure to learn how to use the superslicer
- export a g code of printing two groups of YOTH, the setting direction of one group is xy, another is xz.
- screenshot the two groups of slicing the YOTH models and choose one group to print.
-
reference
-
procedure
-
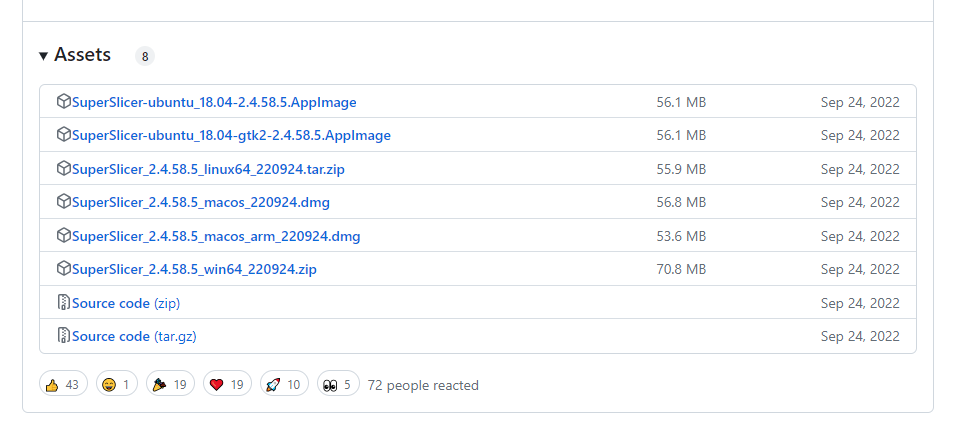
download superslicer_2.4 from Releases · supermerill/SuperSlicer · GitHub
-
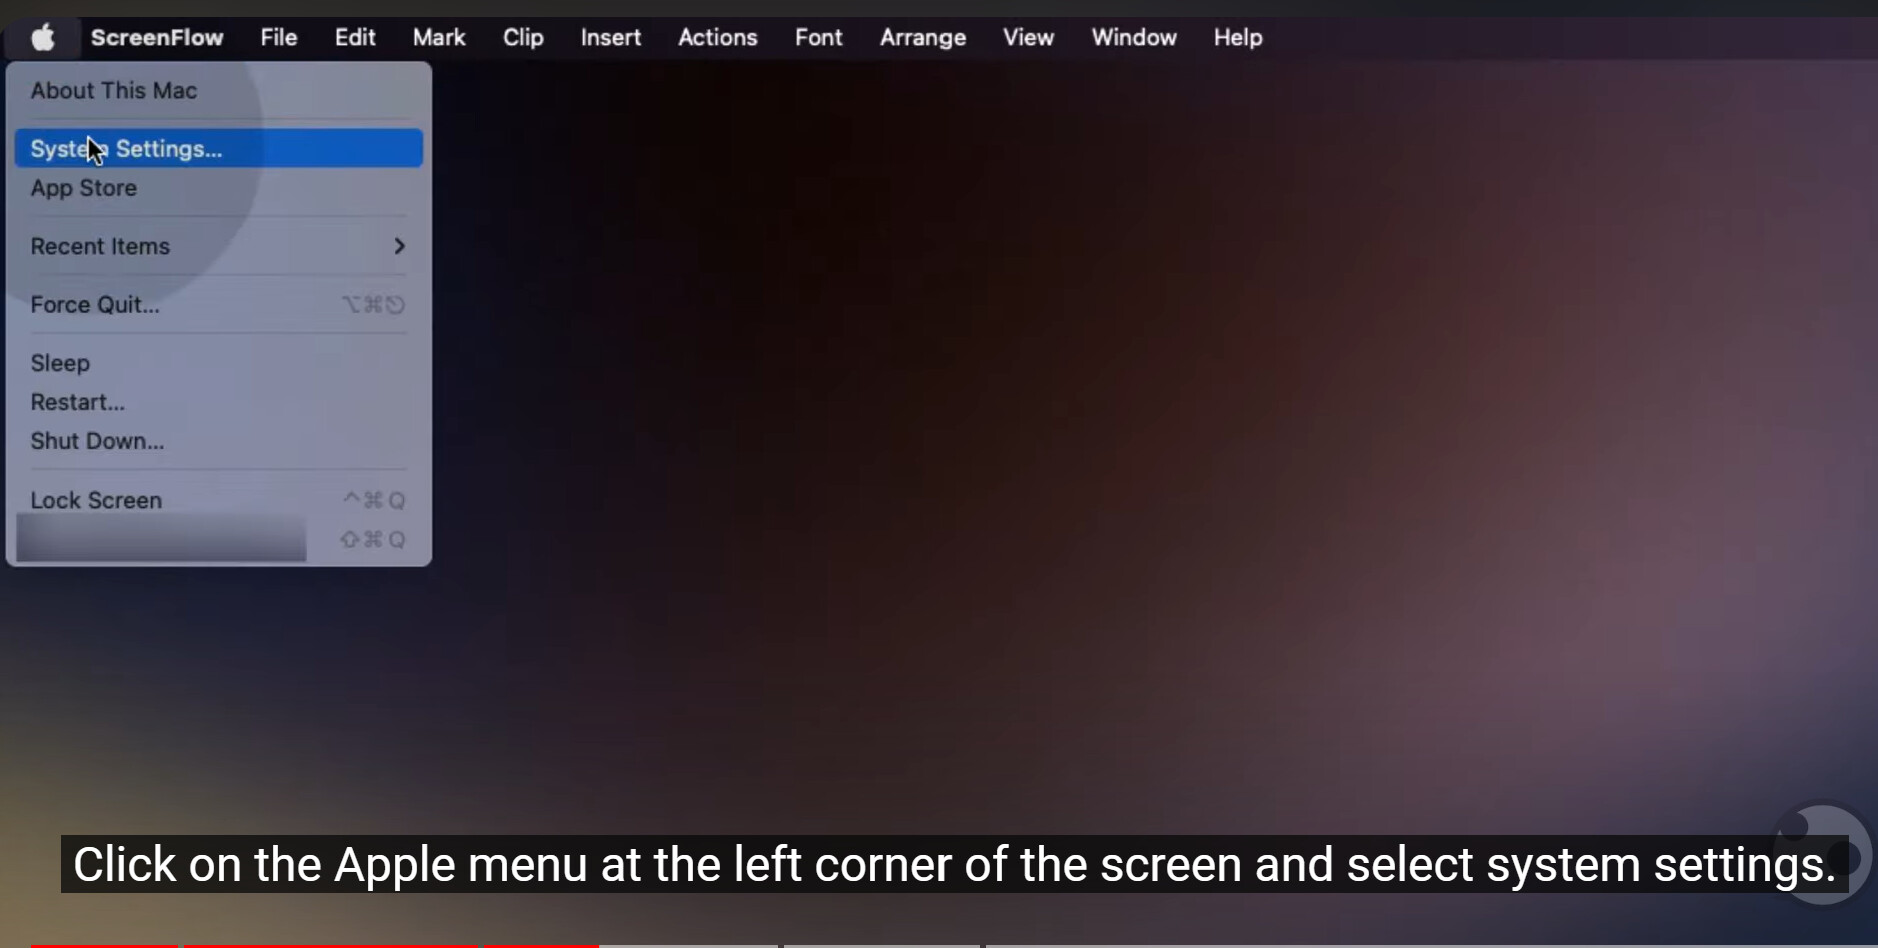
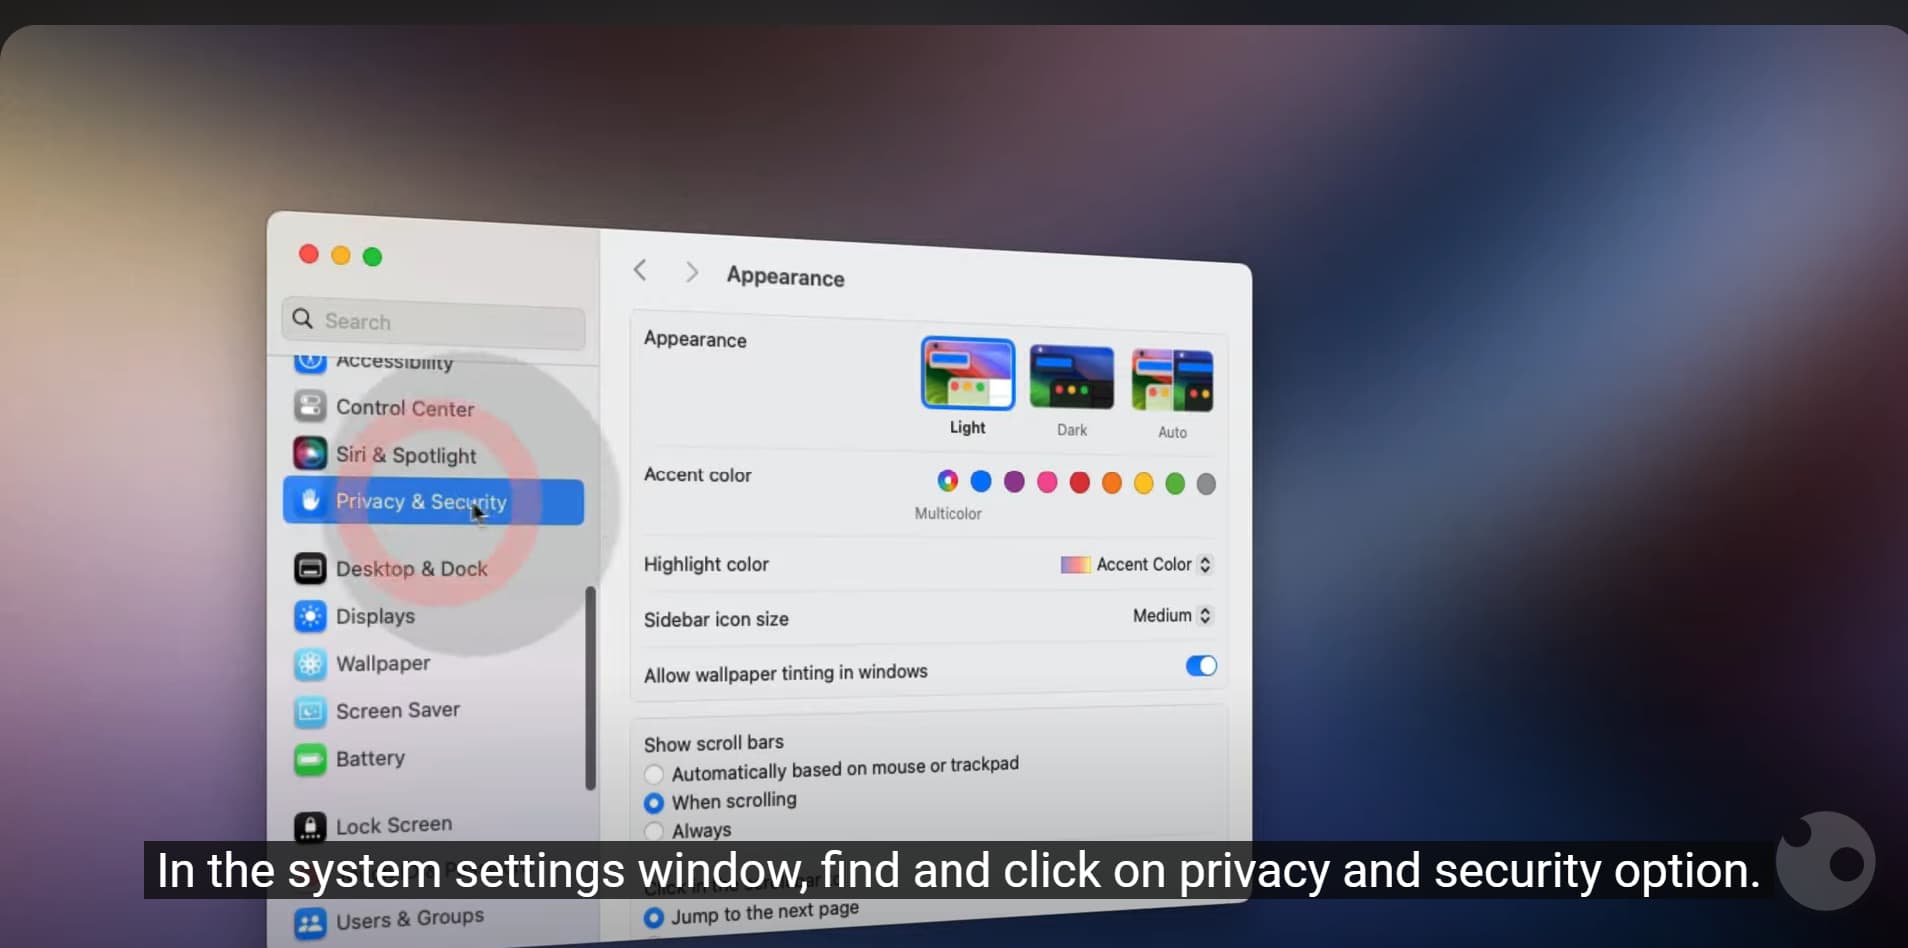
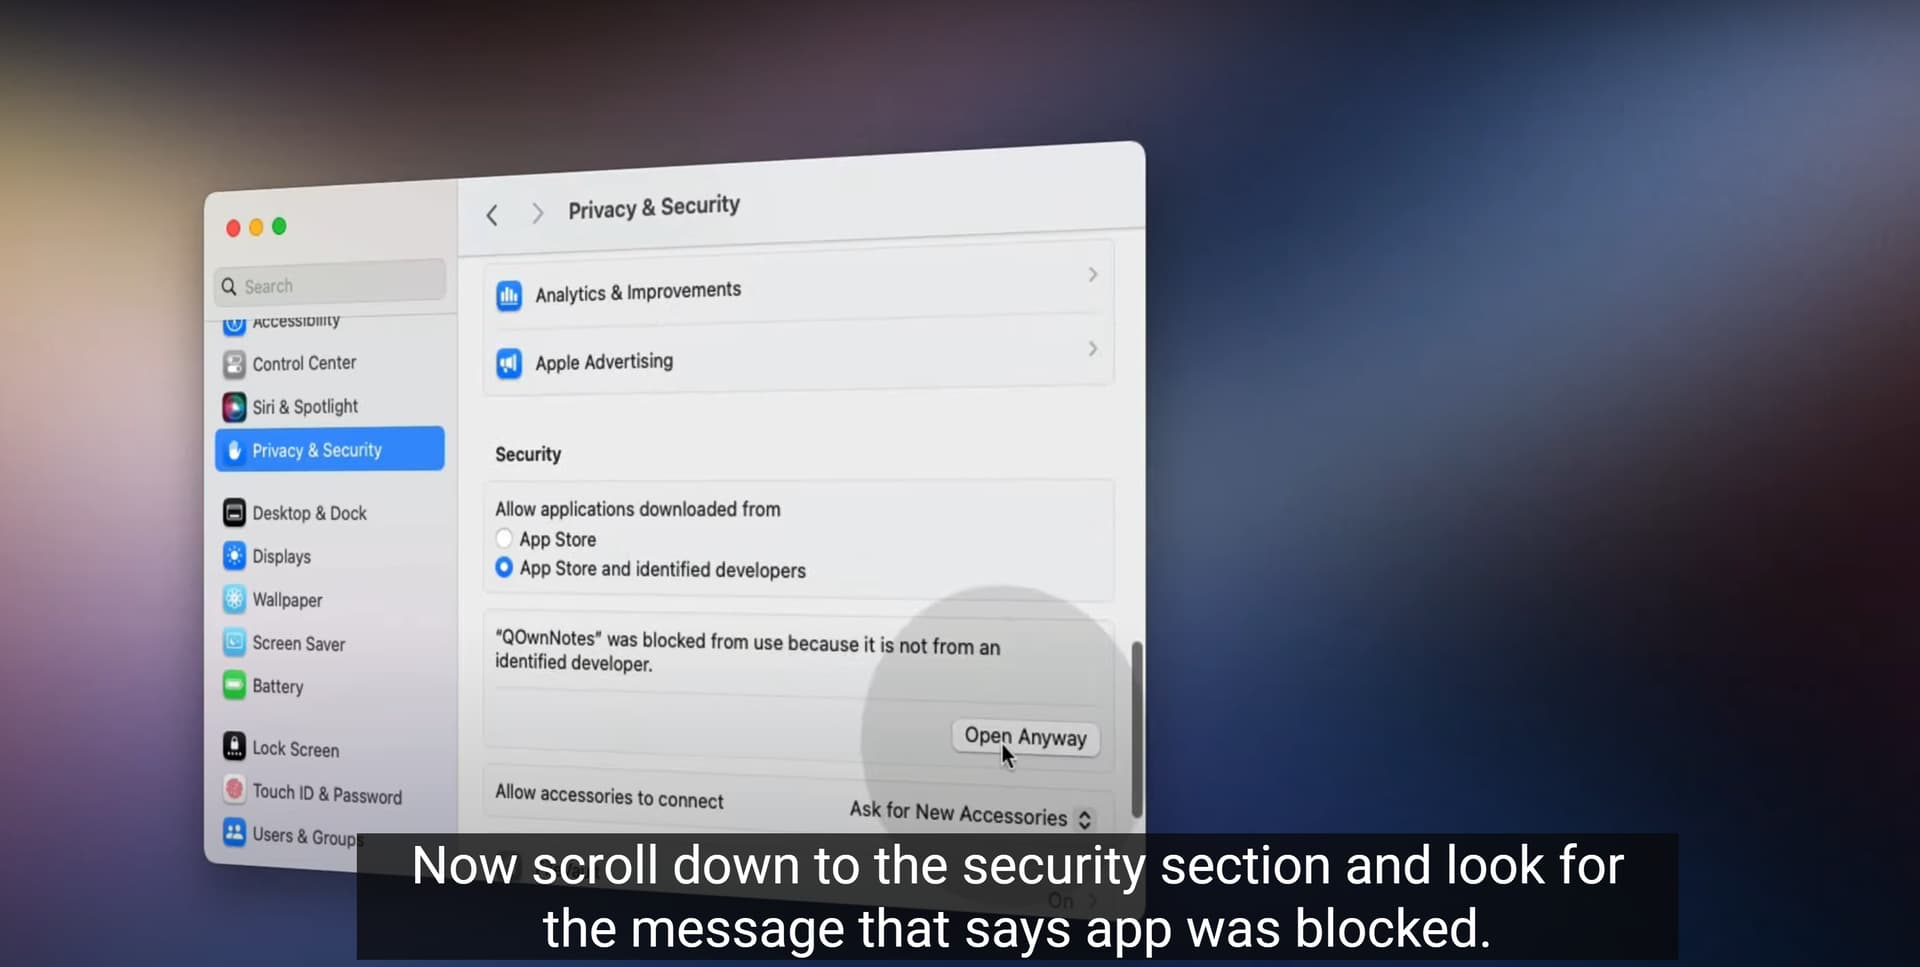
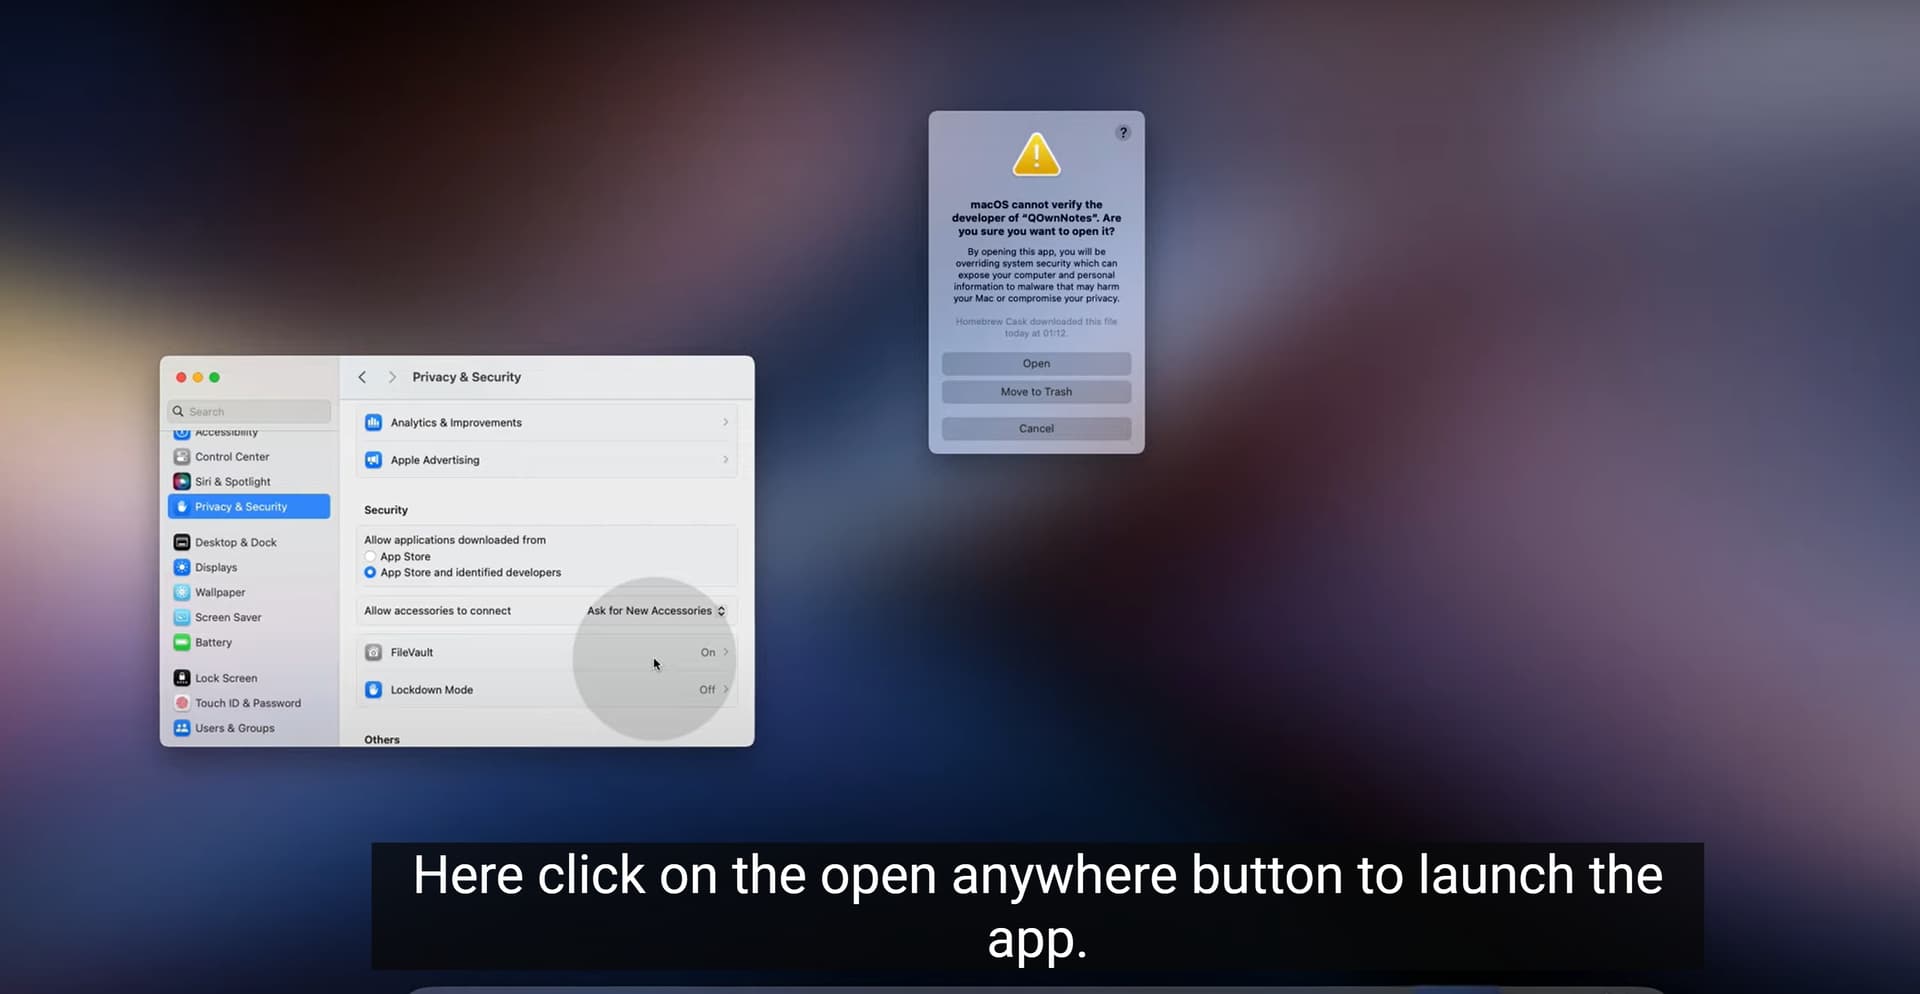
- Fix Mac App Can’t be Opened Because Developer Can’t be Verified Error
- for Mac users, if you find you cannot open the superslicer with the verified error, pls fix the problem according to the following operations

-
-
-
-
-
set the printer parameters
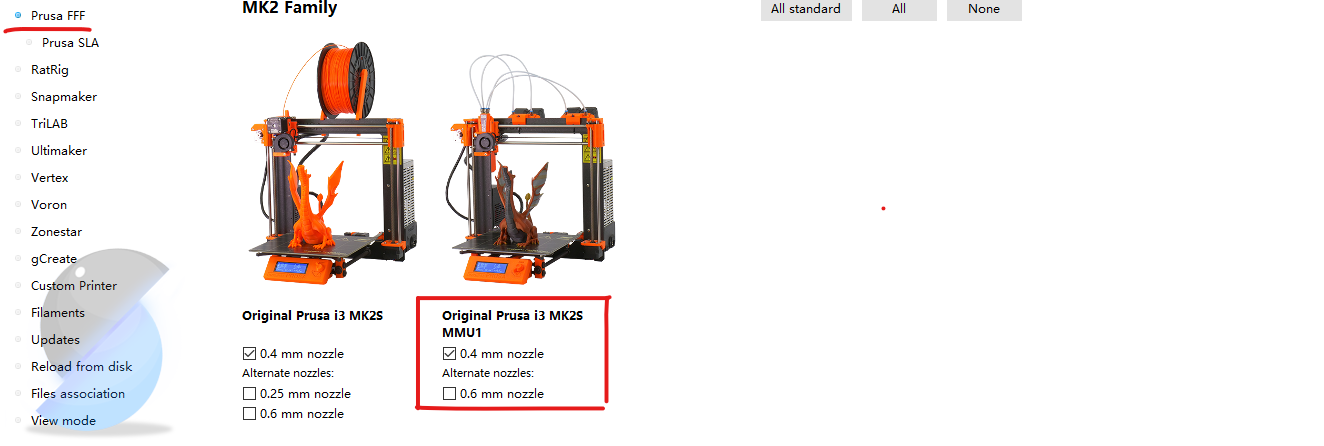
- first we need to add a new printer. There is no Core i3 printer inside superslicer, we choose “original prusa i3 MK2S MMU1” instead and then click the “Printer Settings” in the top.
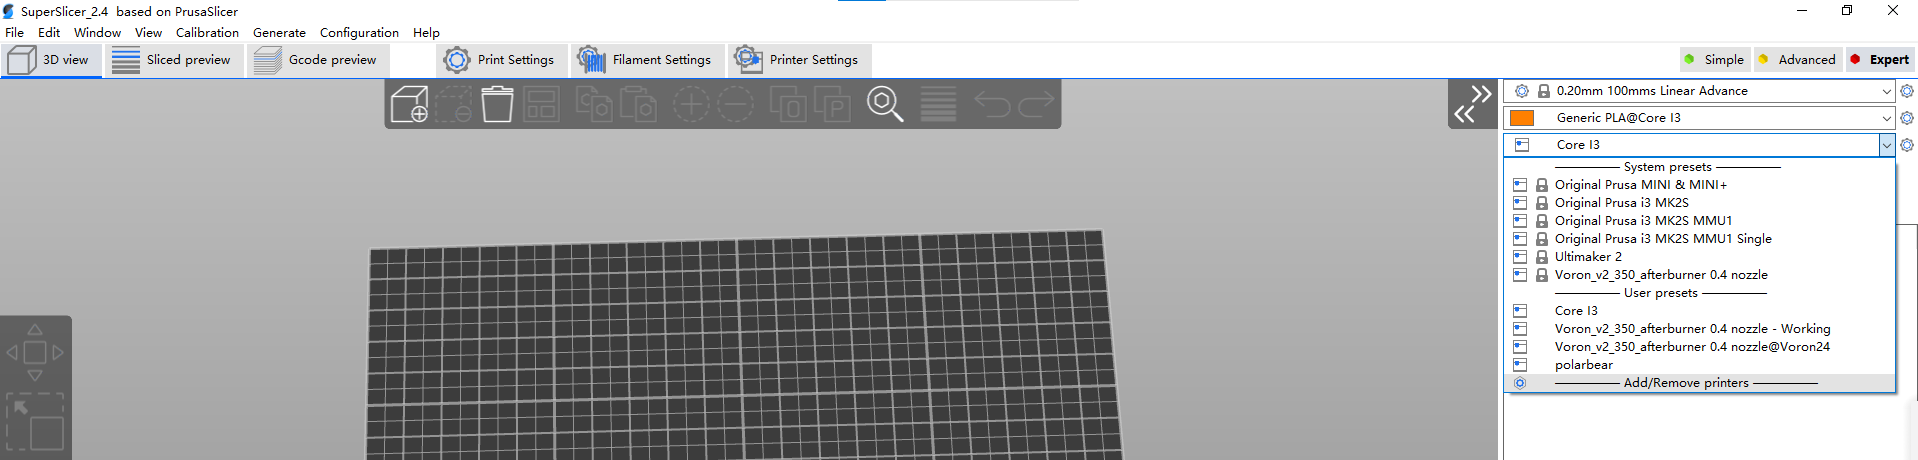
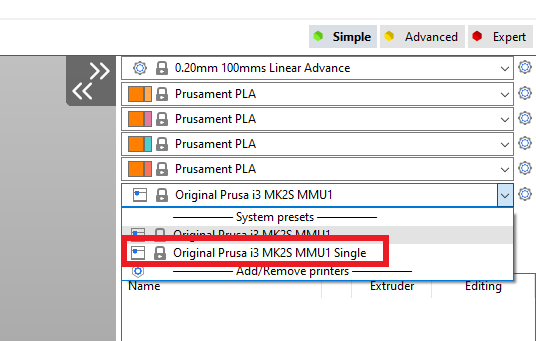
* If you see that there’s many PLA selection, you need to select the “Original Prusa i3 MK2S MMU1 Single” as we are not using multi-material printer
* If you choose the settings, no matter the printer setting or filament setting or print setting, you can choose three modes. For this time, we choose Expert mode.
*

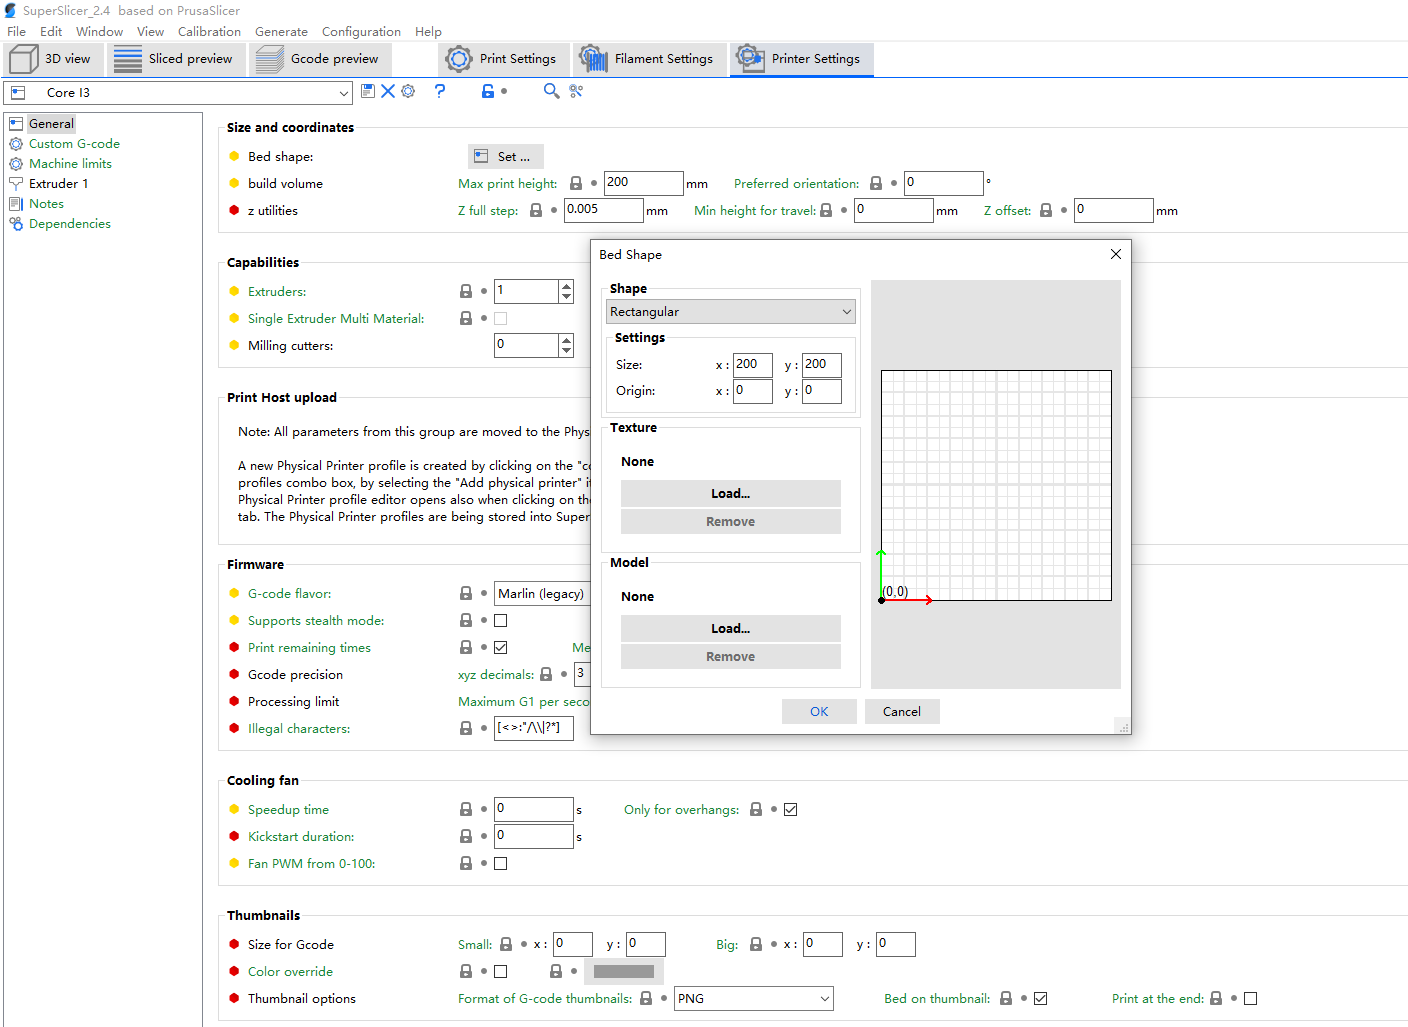
* In the printer setting, you can change the size of the building plate in “Bed Shape”. For Core I3, the size of building plate is 200*200mm.
*
-
for each time you change the parameters, please remember to save it and name it.
-
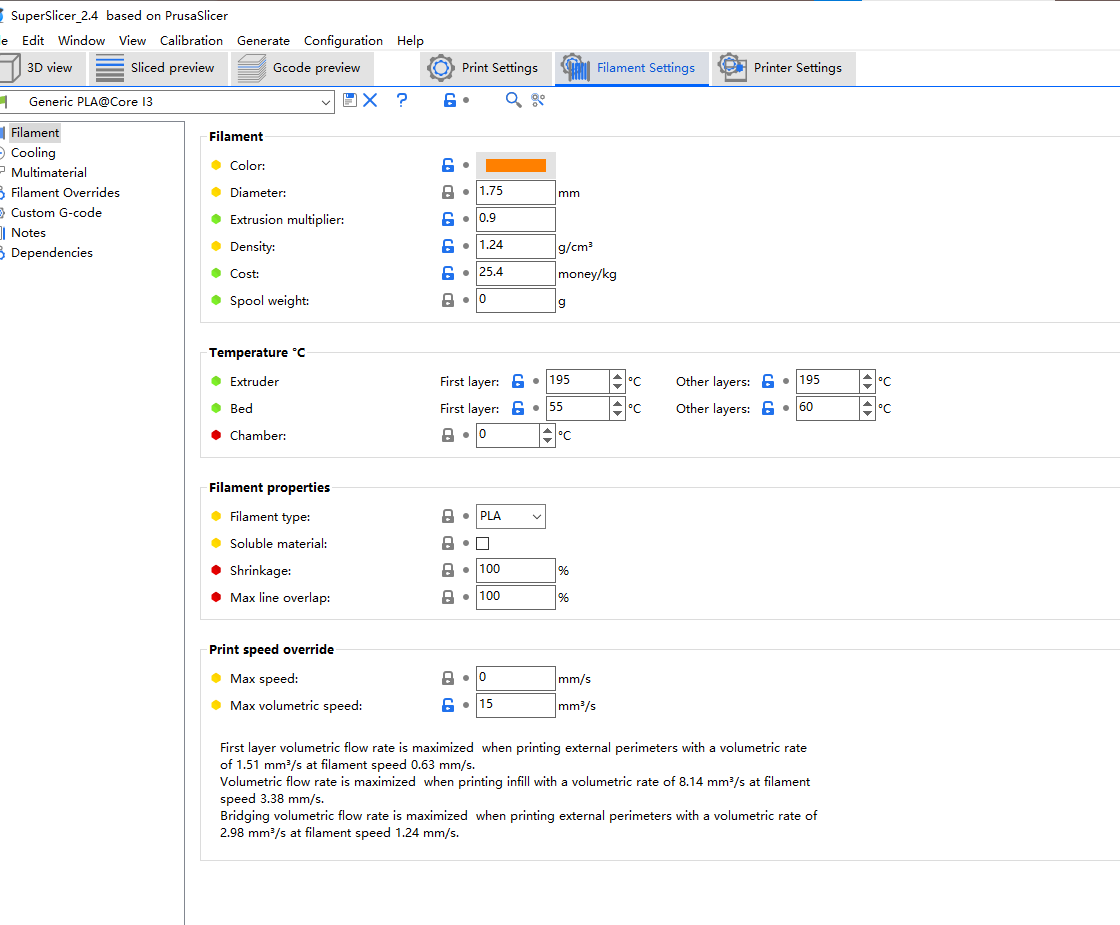
- then we choose “generic PLA” as our printing filament, if you have some other filaments like ABS and want to print object with this filament, please remember change the type of filament before slicing.
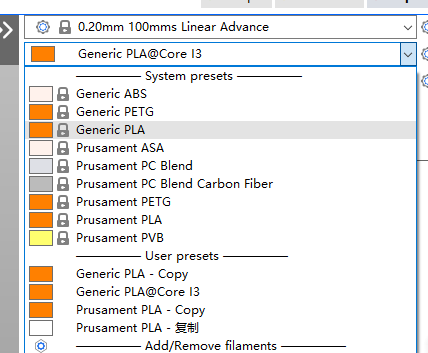
-
- in the “Filament Settings” you can change the color of the filament (but it usually doesn’t have an observe influence), the diameter of the filament and the temperature of the heating bed and nozzle (extruder).
- there are two size filament that we usually use, one is 1.75mm, another is 2.85mm, please use the electronic vernier caliper to measure the diameter of your filament and enter the corresponding value
- if you print with PLA, for the temperature of the bed, we recommend between 45-65°, and for the temperature of the extruder, we recommend between 190°-220°. For the specific temperature of which printing effect is best, please participate in WKS2
-
-
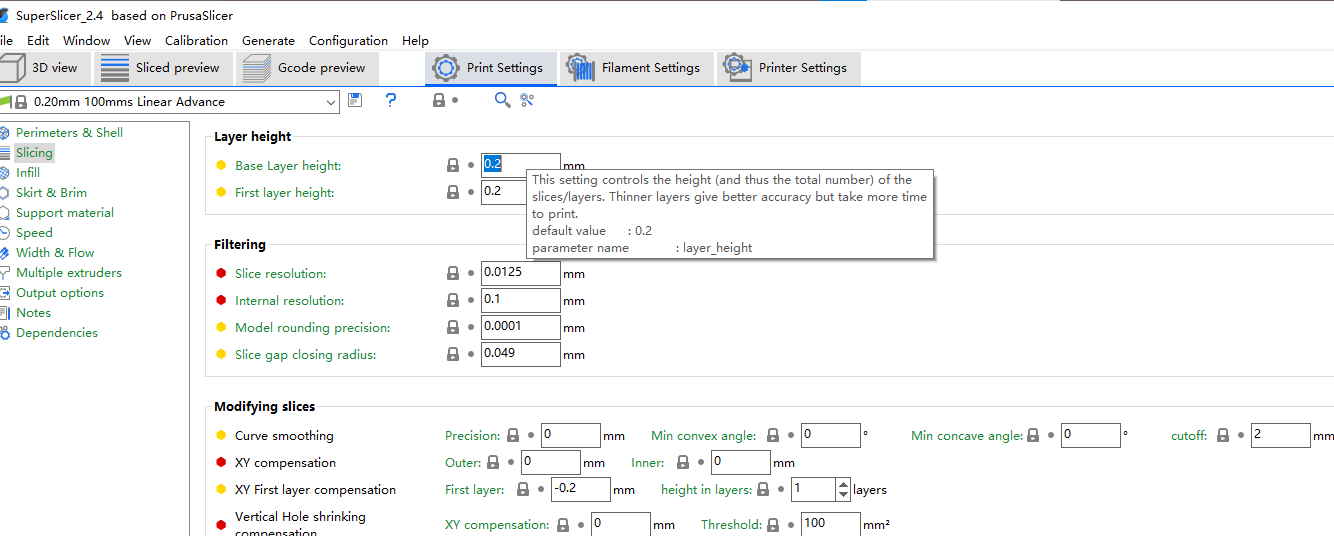
In Print Settings > Slicing > Layer height, we recommend you set the layer height to a multiple of 0.2, because the size of our nozzle is 0.2mm, which makes printing easier. The higher the layer height, the rougher the surface of the printed object and the shorter the printing time.
-
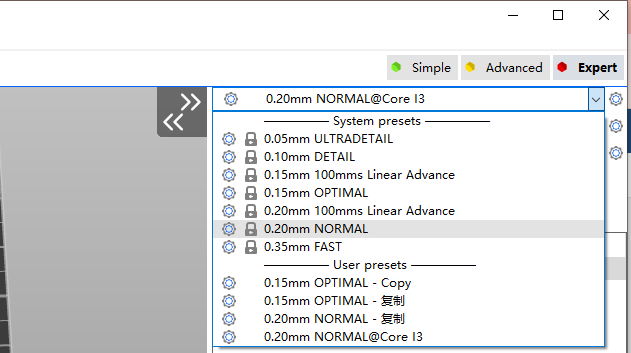
For the print settings, we choose 0.2mm NORMAL
-
-
-
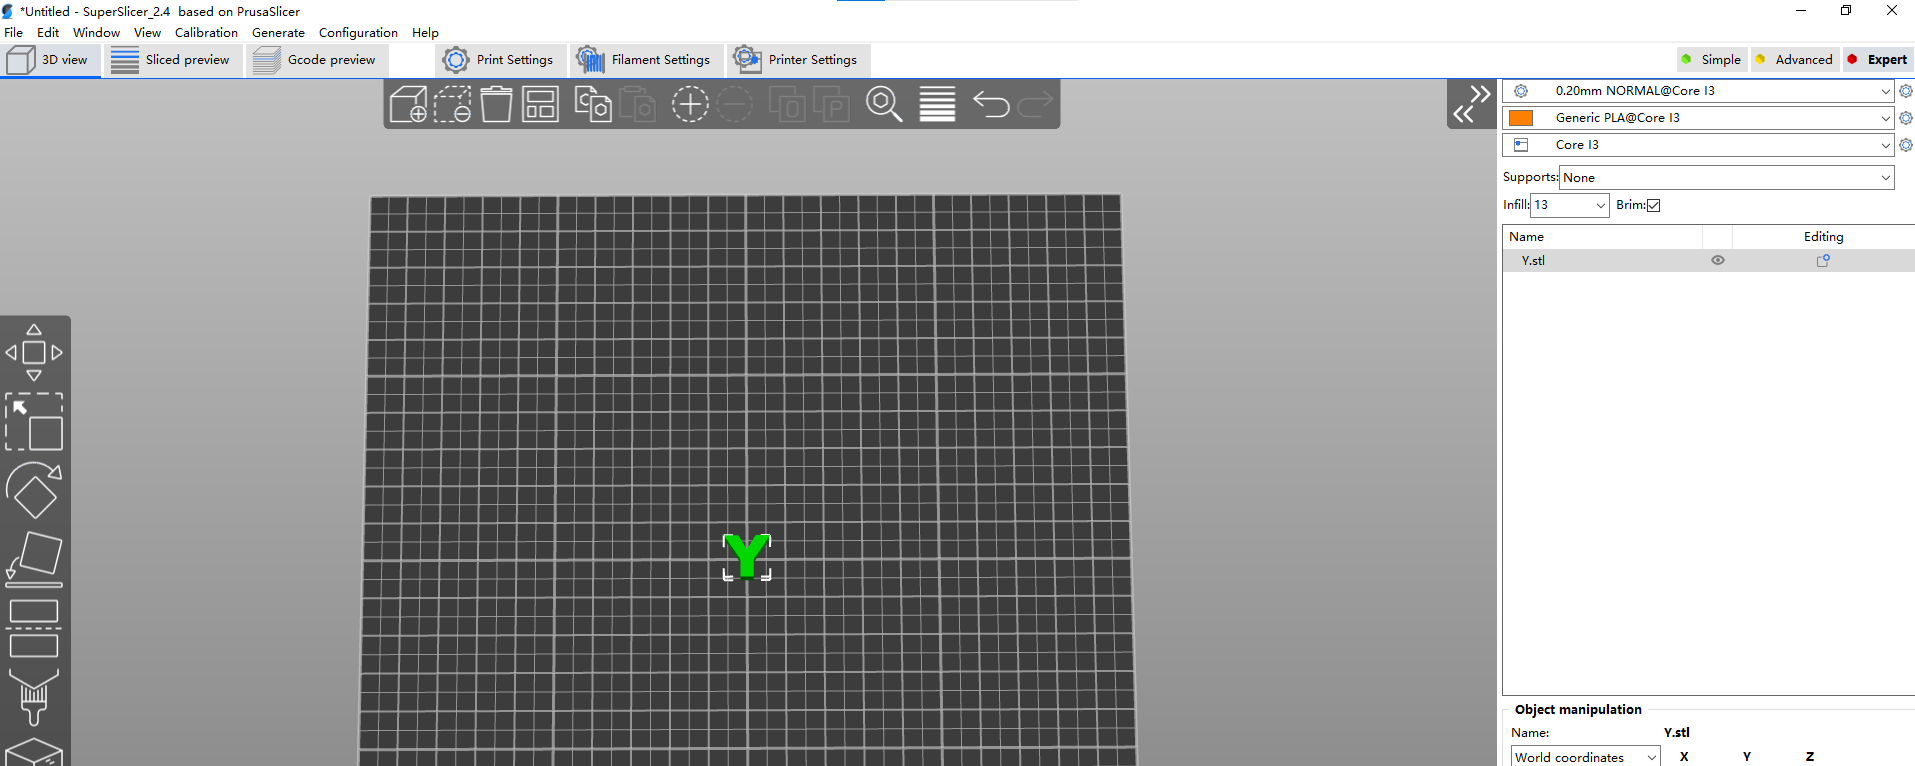
- Prepare for Slicing
- import a stl file to superslicer, you can see the model is on the build plate
- adjust the model
-
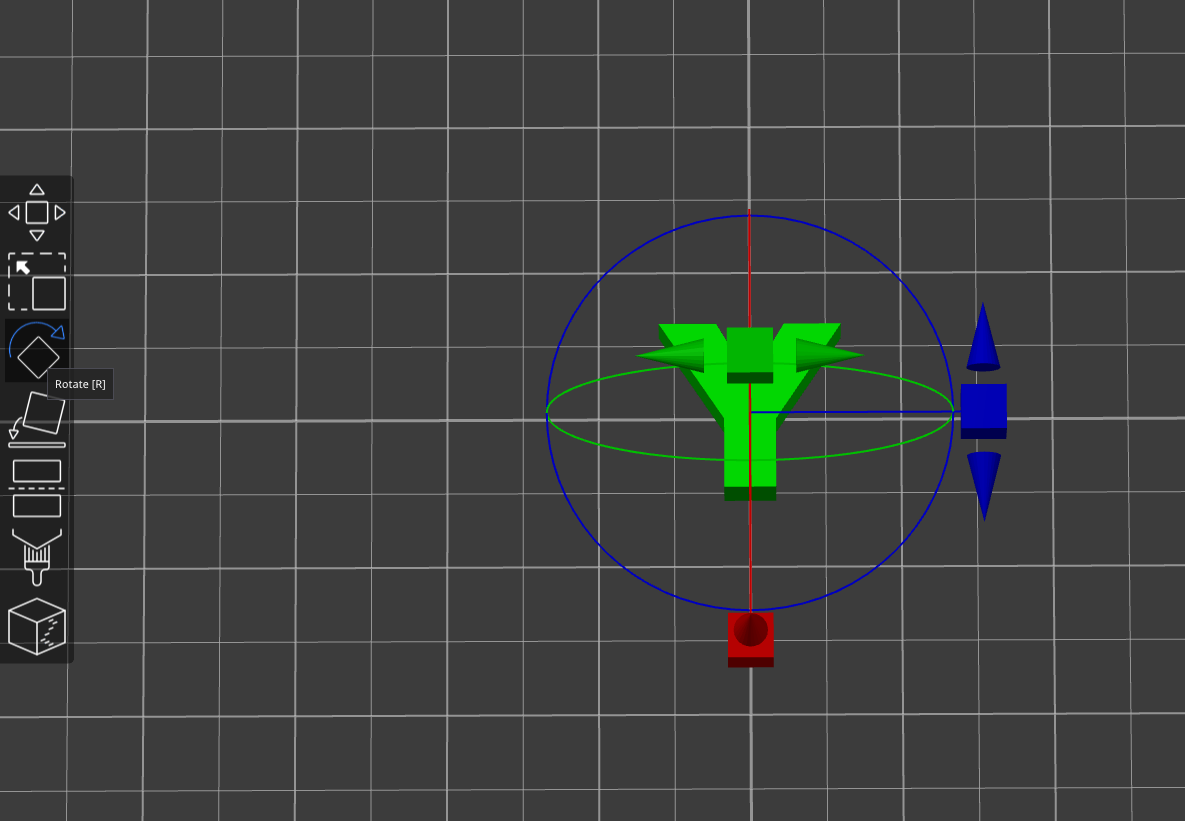
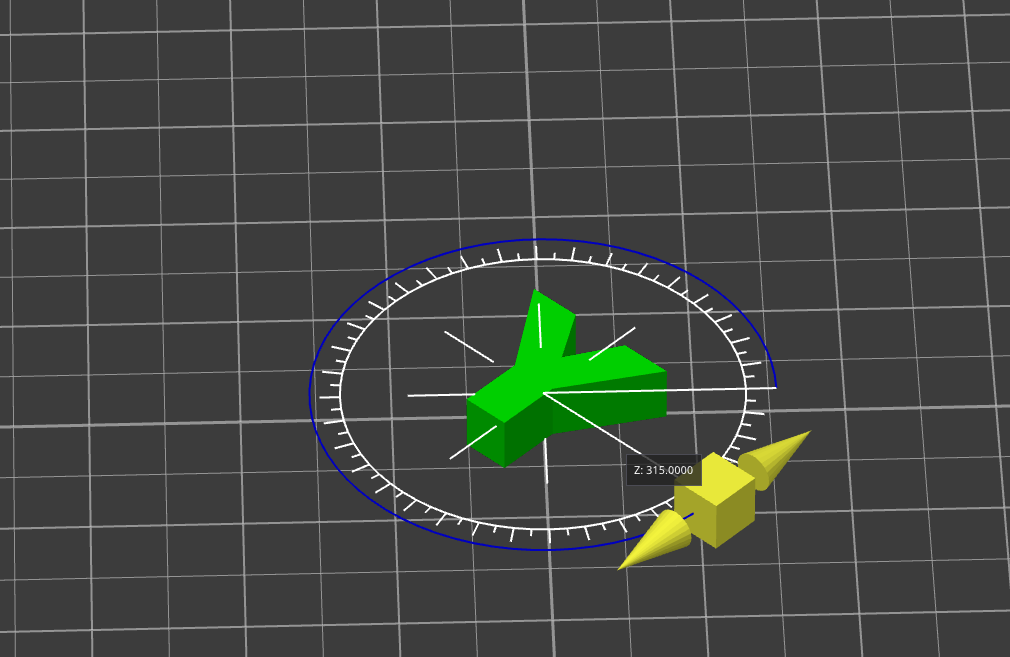
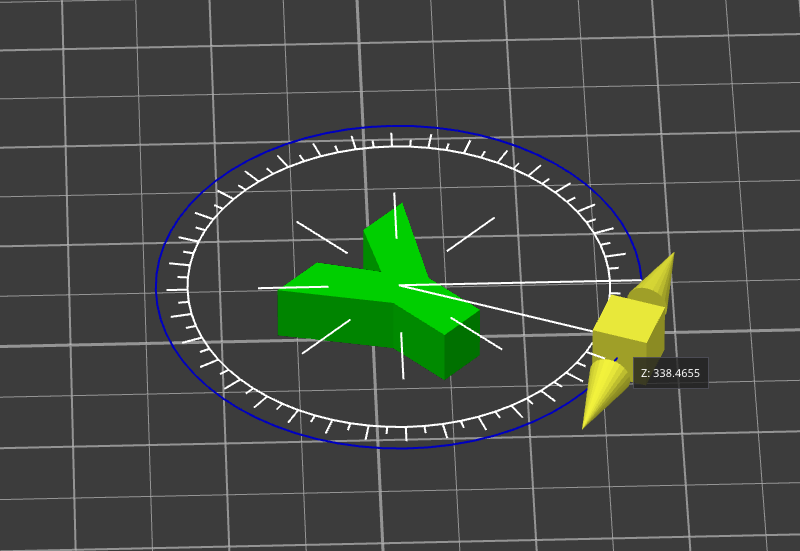
rotate
-
You can rotate along three axes, placing the cursor inside the circle and each rotation is 45°, and placing the cursor outside the circle rotates each rotation is not an integer.
-
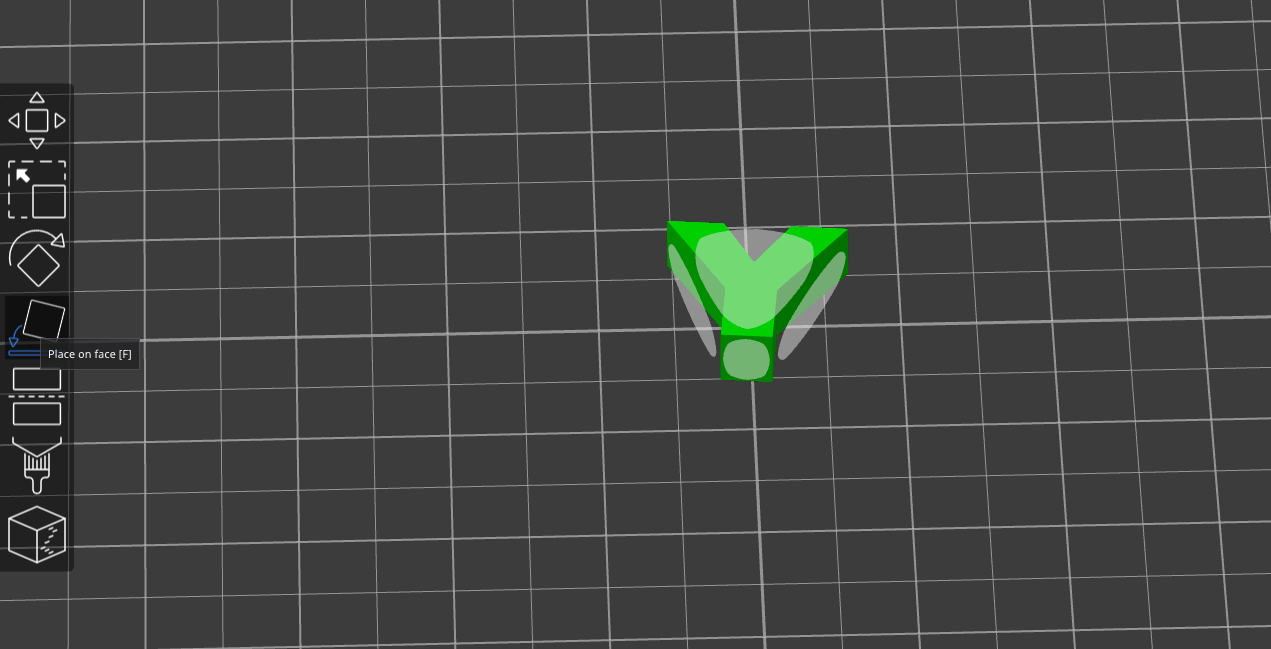
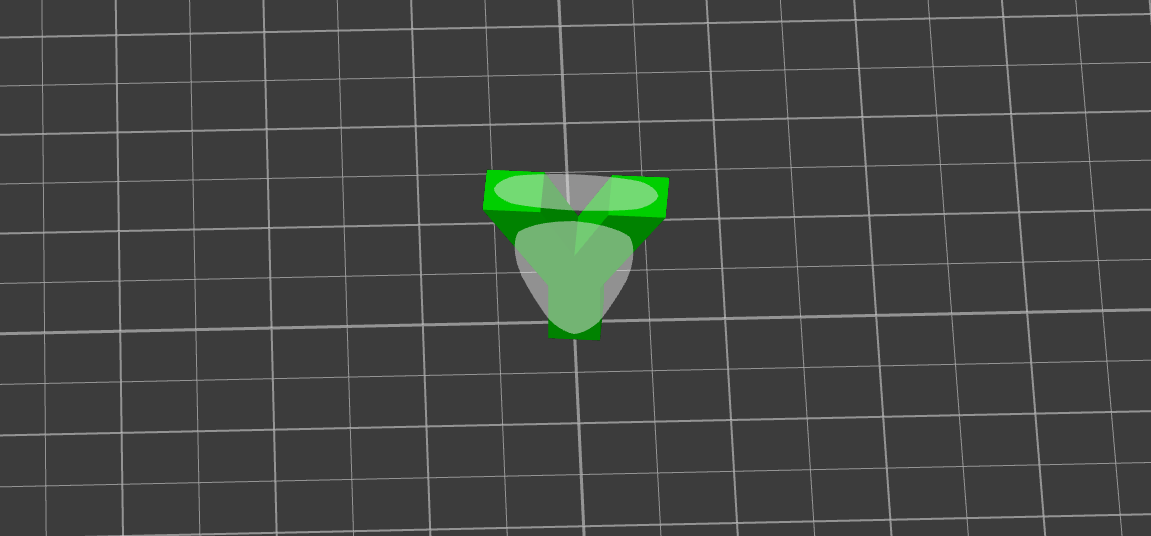
Place on Face
-
When you use this function, superslicer will generate several faces (light white) for your model, and you can choose which face to place on the building plate.
-
-
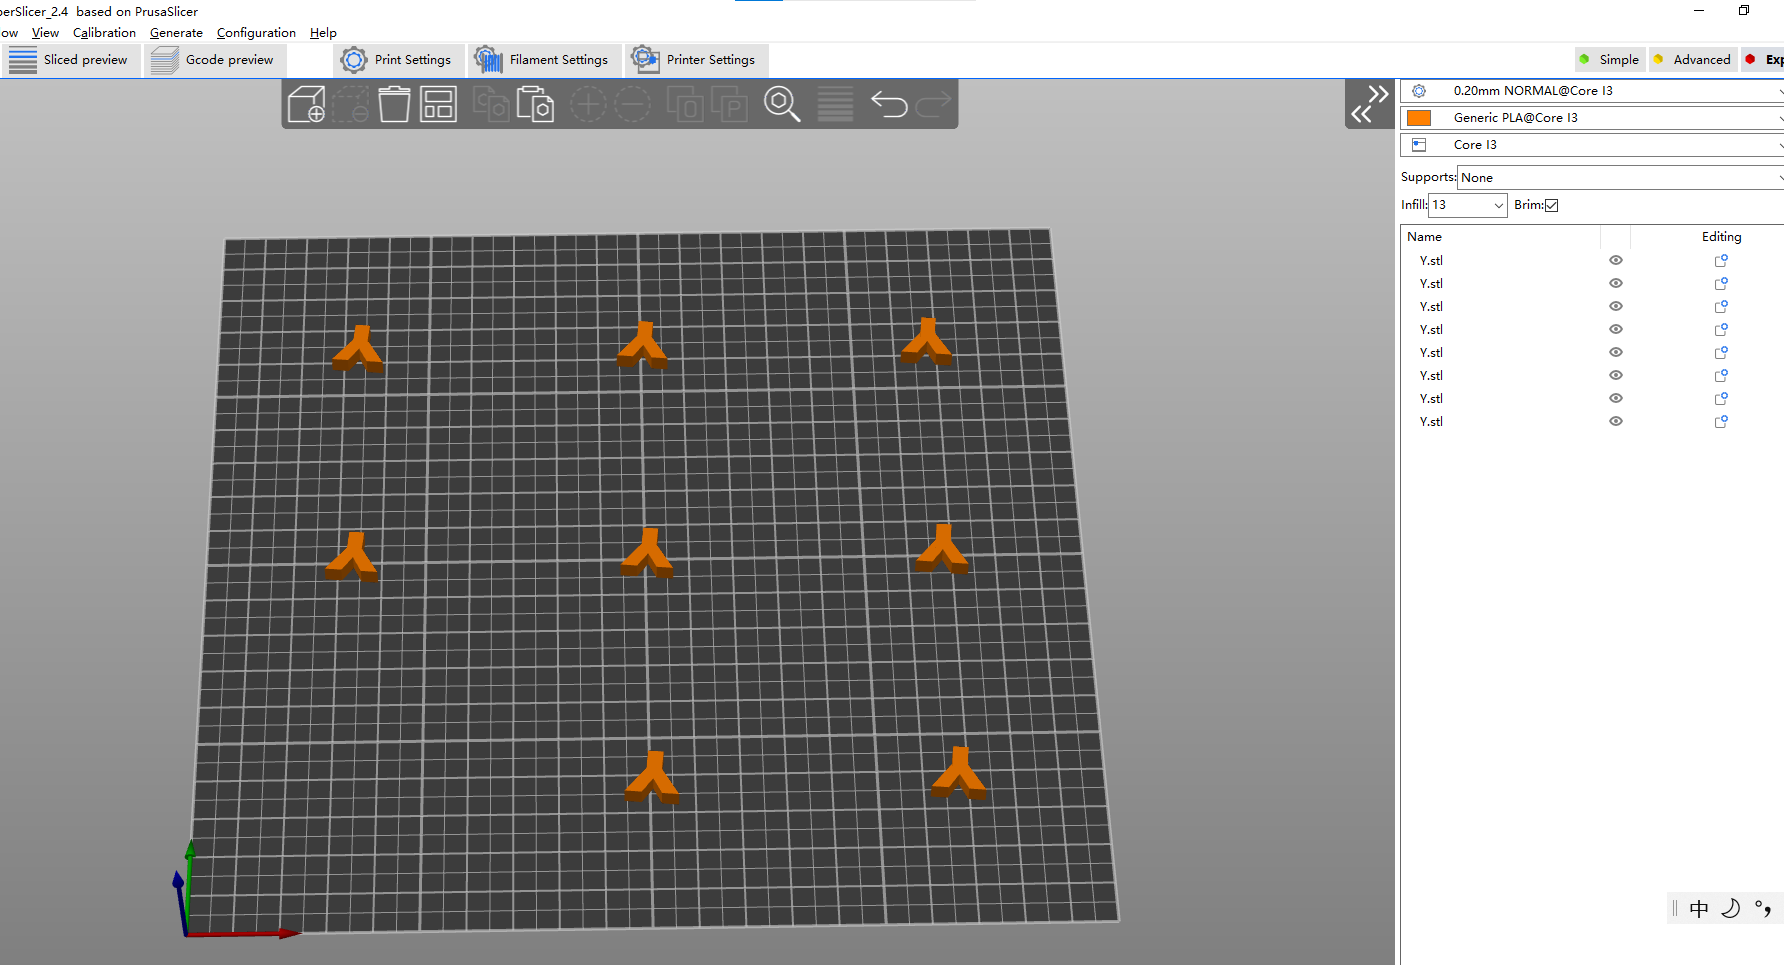
Arrange
-
When we want to print a large number of models at one time, we need to allow each model to have an independent space without overlapping each other. At this time, “arrange” is a good function that can help us quickly place all the models. of course you can also choose not to use this function and move each object manually, but this is very time-consuming.
-
-
Support (beginner)
-
You need to check “generate support material” and “auto generated supports” to generate support, You can find it in Print Settings> Support material, or you can use the search function to enter the keyword to find what you want.
-

-

-
For beginner, we suggest you to choose “Everywhere” supports in the “3D view” at first, if you want to explore more, you can try other types and compare the difference.
-

-
not all the prints need supports, whether it need supports or not depend on the shape and the placing orientation of the prints. For example, horizontal placing letter “O” does not require support, vertical placement requires it. It is important to place it according to your needs during the printing process. Generally, the fewer supports is better. For parts that require accurate size such as “holes”, try to place them horizontally, because after being placed vertically, the gravity of the upper layer will make it difficult for the hollow holes to maintain a perfect shape.
-

-
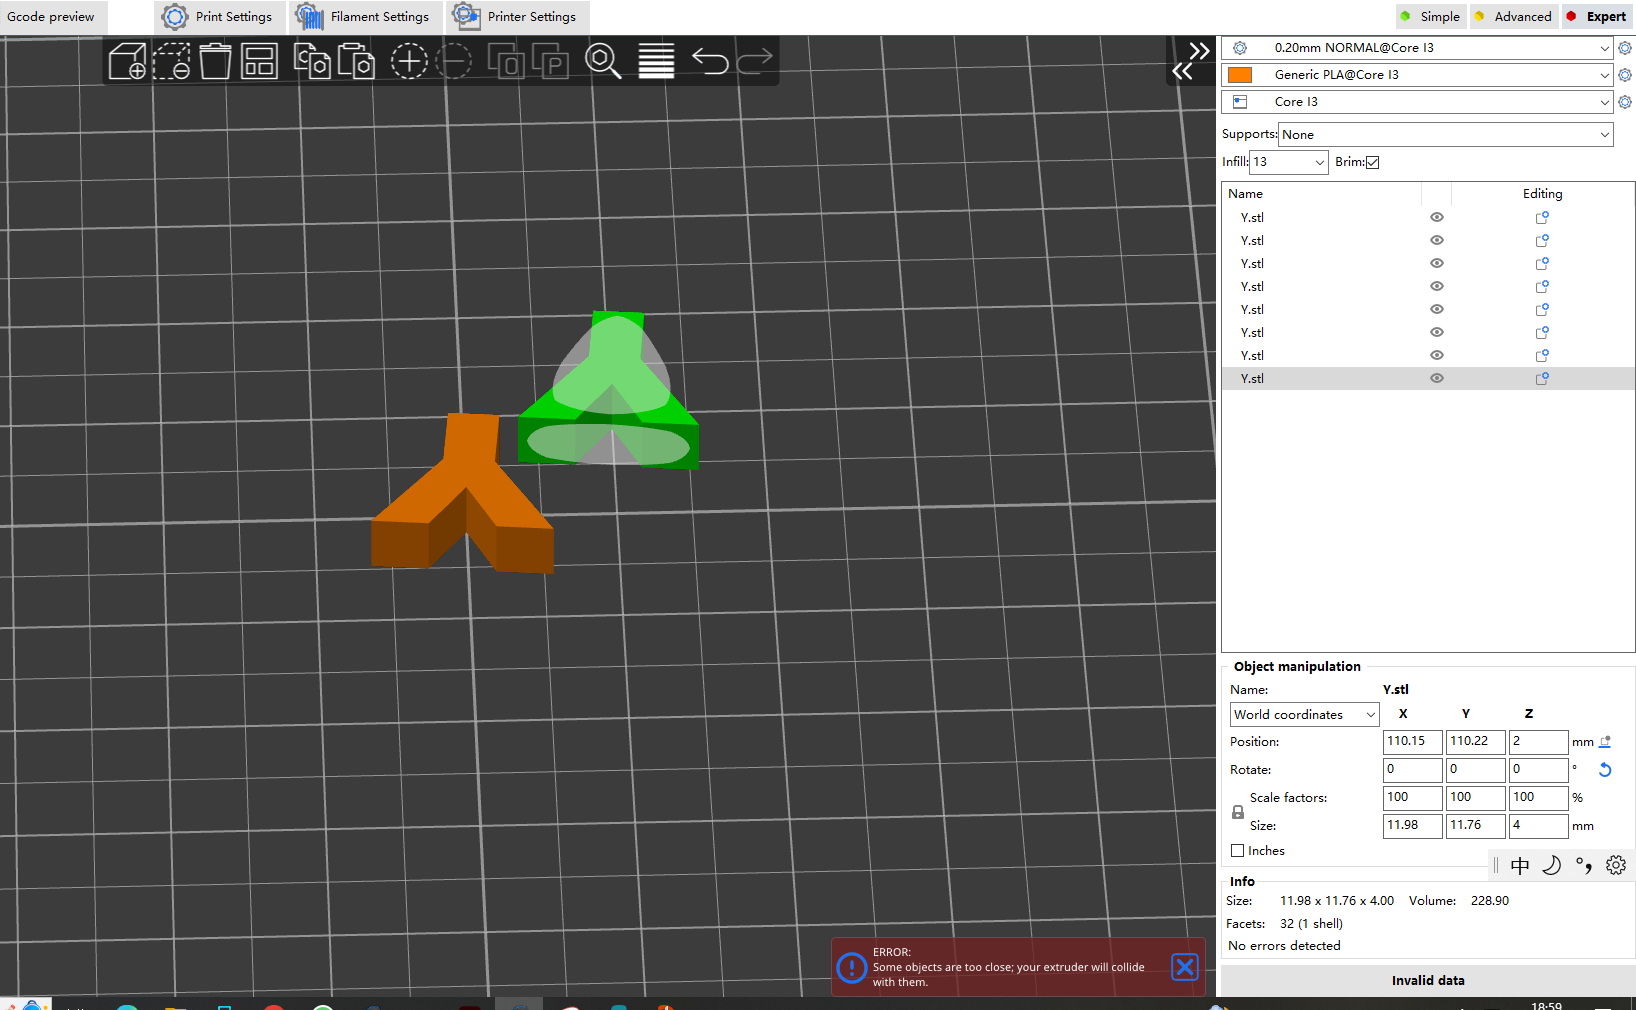
- Slicing
- if all the parameters you prepared are perfect, you can slice your model.
- click the “slice now” button and see what will happen

- after slicing, there is a panel shows the time needed of printing. you can also see the time it takes to print each part, its percentage and the required filament weight.
- if your prints need lots of filament and there is not much on the spool, please load a new one.

- after you slicing the model, if you want to move or adjust the model, you can choose “3D view” to adjust and slice again

- once you confirm, you need to generate the g-code file and download it to your SD card. insert the SD card in Core I3, you can print what you made!

- Prepare for Slicing