-
activity 2: load the filament
- learning goals:
- learn how to change the filament
- learning goals:
-
tasks:
- follow the procedure to learn how to change the filament and how to check the filament
- This has two spools of printing filament of different colors, one installed on the printer and the other on the table. After learning how to change the filament and how to check the filament, load the filament on the table
- take a photo of the removed filament(old filament) and the new material flow out of the nozzle
-
procedure
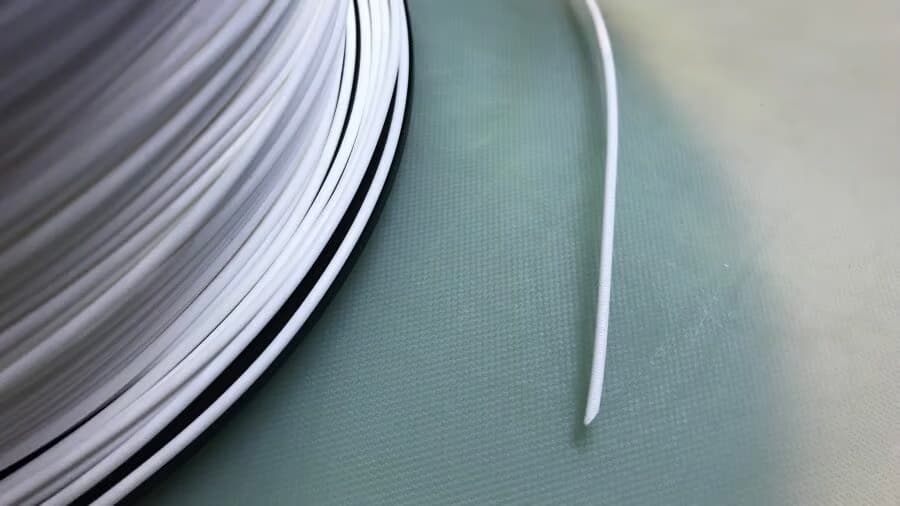
- check the filament to make sure the filament is not tangled together or broken
- if the filament is tangled together, please remove the filament first and refer the https://all3dp.com/2/filament-spool-tips-tricks-against-filament-tangles/to solve it.
-
Tips to Solve It
If you can’t avoid it in time, or if you’re reading this article because the tangle has already happened and you want to know how to solve it, here are some tips.
* When fixing a tangle, don’t unwind large portions of the filament, and don’t unwind the filament completely because you may only end up with a bigger mess.
* If the tangle is too bad to fix, you may have to consider re-spooling the filament. Only try this after researching and if you’re confident you can pull it off.
* You do need to unwind the spool a bit to be able to untangle the filament, so make sure to keep tension at some point of the filament to prevent more from coming loose and aggravating the problem. You can do this simply by pressing down on a section of the spool.
* When untangling, be careful not to bend the filament, as sharp bends will damage the filament and make that section unusable. If your filament is brittle, it could even snap from too-rough handling!
-
-
- Step #1: Remove the Old Filament
- heat up the nozzle to the melting temperature of the material (around 205c for this workshop’s material)
- use your hand to withdraw the filament
- loop the end of the filament into one of the holes on the edge of the spool so that it’s held in place for storage
- Step #2: Install the New Filament
- Take out your filament and cut a sharp angle on the end of the strand to help it enter the extruder. You can do this by holding the filament and using scissors to cut the tip of the filament at a 45° angle (like the following picture)
- Step #1: Remove the Old Filament
-
* Heat up the nozzle to the melting temperature of the material (around 205c for this workshop’s material)
* Feed the new material into the extruder. Note: Because the filament is coming off of a circular spool, it’s not going to be perfectly straight. Gently bend a two-inch section at the end of the strand so that it’s straight
* Use your hand to To feed the filament in and place the filament in between the toothed extruder gear and the idler pulley
* Push the new filament until you feel firm resistance. This means it has reached the nozzle
* Step #3: Purge the Nozzle
* Now that your new filament is at the nozzle, it’s time to feed it through. But, before you can start using the new filament, you must purge the old filament from the nozzle. This will ensure that the old filament is gone from the hot end and you will be printing only the new filament
* use your hand to withdraw the filament in 10 or 20 mm
* The nozzle is purged once you see the new color or material flow out of the nozzle